Papa Vespa's blog is een blog over het restaureren van een smallframe Vespa en veel meer.


Papa Vespa's blog is a blog about the restoration of a smallframe Vespa and much more.

The best of ... the overhaul - Thanks a million to Luc Pollet for making the compilation.

Harley versus Vespa

Totaal bezoekers sinds maart 2011


donderdag 9 februari 2012

Vooras - front axle

Alle onderdelen voor mijn vooras zijn aangekomen en ik kan beginnen met assemblage. Voor alle zekerheid vervang ik alle rollagers, o-ringen en oliekeerringen ( bourage). De schokdemper is in een vorig bericht aan bod gekomen.


All parts for my front axle arrived and I can start assembly. Just to make sure I replaced all bearings, o-seals and oil seals. I discussed the shock absorber in a previous post.
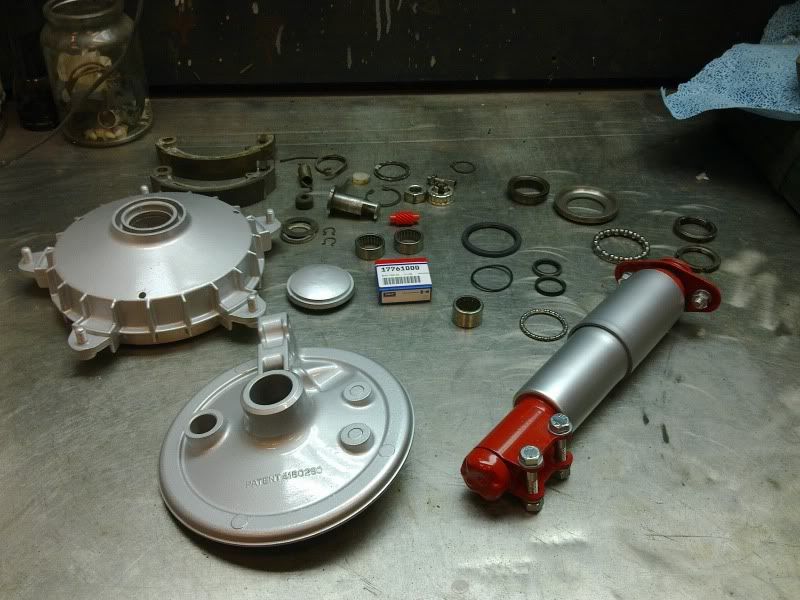


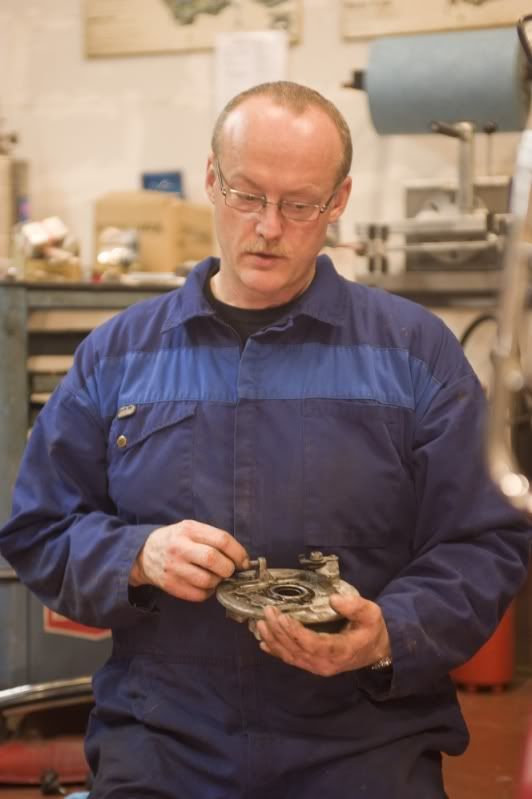
De rollagers zijn in de achterste plaat gemonteerd als ook de bourage. De as wordt verankerd door een circlip. Hier te zien op de foto onder.

The bearings as well as the oil seals are mounted in the rear plate. The shaft is anchored by a circlip. Here you can see in the picture below.


De remtrommel heeft 2 verschillende rollagers, in tegenstelling tot de achterplaat met 2 dezelfde rollagers. Het eindpunt is eveneens voorzien van een circlips. (nog niet aangebracht op de foto onder.)
De o-ring en v-lip dichting wordt tussen de achterplaat en de vooras gemonteerd. 

The brake drum has two different roller bearings, as opposed to the rear plate with the same two identical roller bearings. The end point is also provided with a circlips. (not yet applied to in the photo below.)
De o-seal and the V-lip seal is mounted between the backplate en de axle.
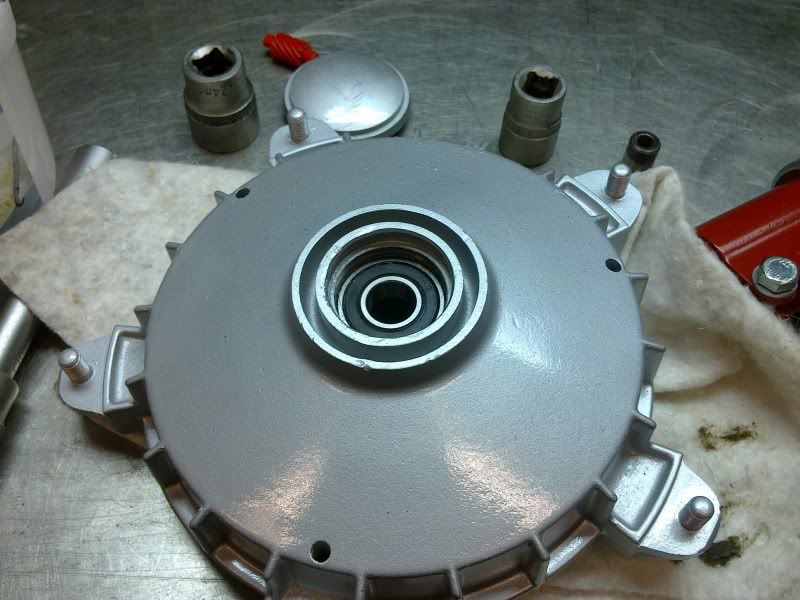


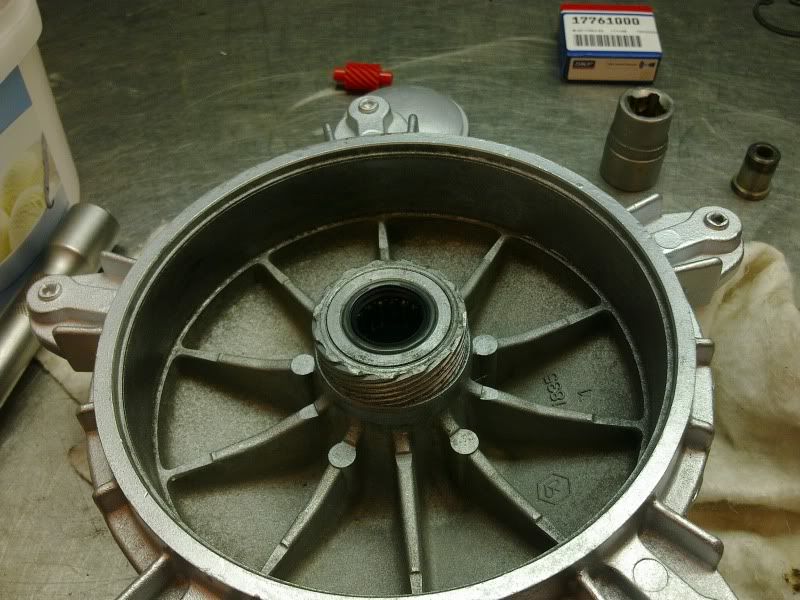
De achterkant van de remtrommel is voorzien van vertandingen die dienen voor de aandrijving van het tandwieltje voor de kilometerteller. Wanneer de remtrommel gemonteerd wordt moet er een draaiende beweging met de trommel gemaakt worden zodat die mooi in elkaar passen. Doet men dit niet zal de plastieken tandwiel aandrijving vernietigd worden en moet deze terug vervangen worden.

The back of the brake drum is provided with teeth which serve to drive the toothed wheel on the odometer. When the brake drum is mounted you need to make a rotating motion with the drum so that they fit into each other. If you fail to do this, the plastic gear drive will be destroyed and must be replaced again.


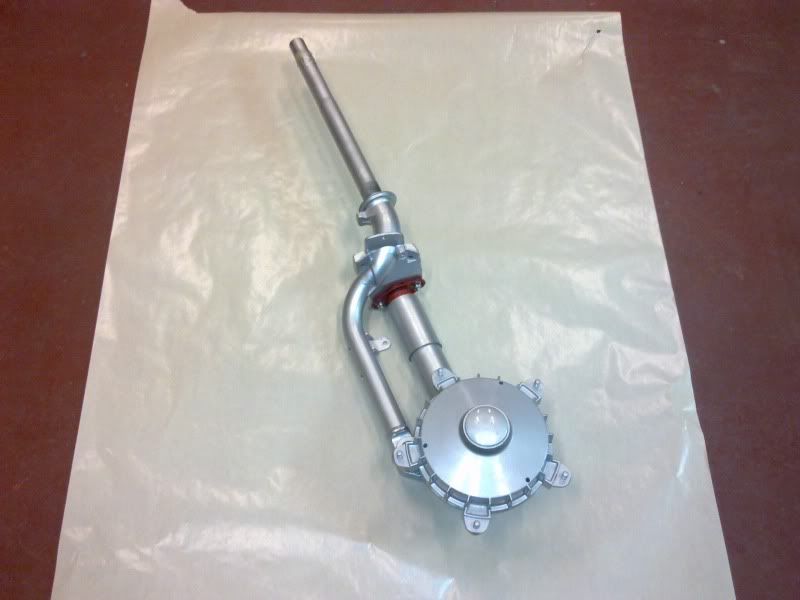
Het eindresultaat wordt nog eens van een vernislaag voorzien.

The endresult is varnished.


Tot de volgende... moest je vragen hebben voel u dan zo vrij mij hierover te mailen.

untill the next... if You have any questions please feel free to mail me.


zaterdag 4 februari 2012

Nieuwe update ( de kabels monteren ) - New update ( mounting the cables )

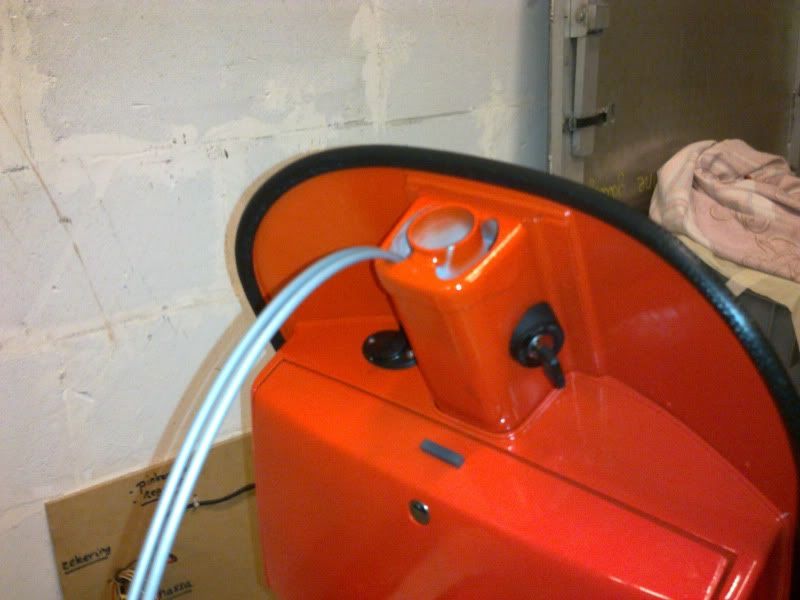
Ik begin deze update met een klein verslag over het  monteren van de kabels. Veel kan hier niet over gezegd worden enkel misschien enkele kleine tips.
Kijk goed welke kabels in welke opening moeten, koppeling en versnellingen in de linker opening en voor rem-en gas kabel in de rechter.
Ik heb de twee versnellingen kabels aan elkaar gekleefd met wat carrosserie kleefband. Dit maakt de herkenning sneller en gemakkelijker.


I start this update with a small report on the installation of the cables. Much can’t be said about it, just maybe a few little tips.
Look carefully in which opening which cables should go, clutch and gears in the left  and brake and gas cables in the right opening.
I have two gears cables stuck together with some paper tape. This makes the recognition faster and easier.


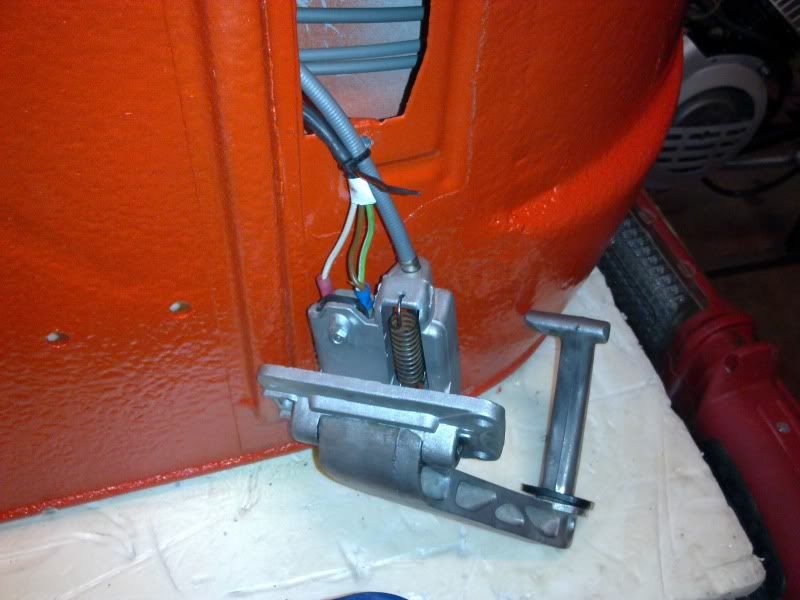
De kabel van de voetrem wordt eerst aan de voetremblok gemonteerd en vervolgens doorgevoerd naar achter.

The cable to the footbrake must be assembled first and then carried through to the back.


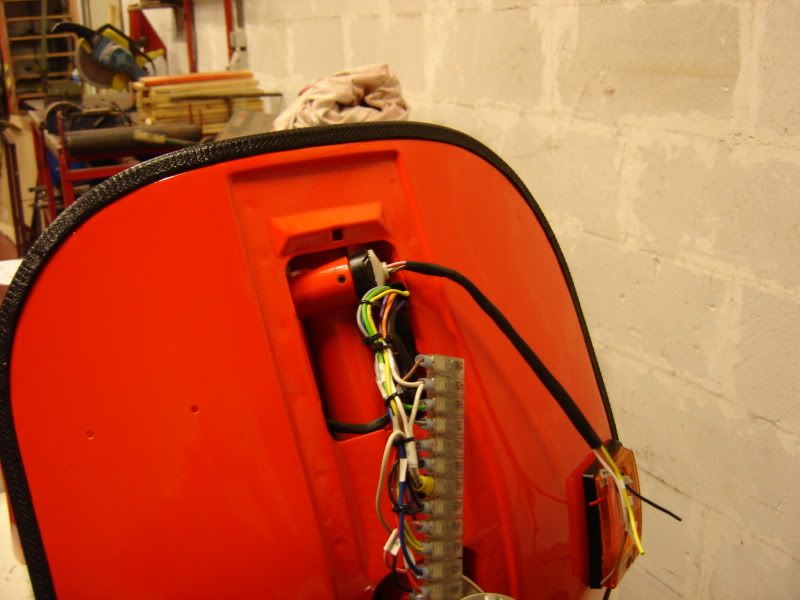
Op deze laatste foto kan je zien dat de elektrische kabel bevestigd is aan de remkabel met een tyrip. Zo voorkom je dat de elektrische verbinding met de voetrem los komt na montage.

On this last picture you can see that the electrical cable is attached to the brake cable with a tyrip. This will prevent the electrical connection to the footbrake to comes loose after assembly.


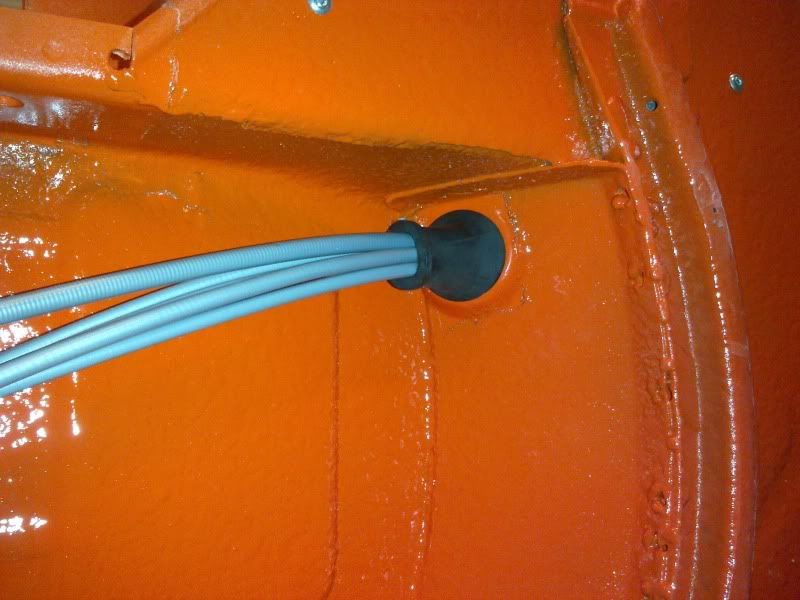
Vergeet de doorvoer niet af te sluiten met de voorziene rubber. Misschien nog dichtmaken met een tyrip na alles mooi gemonteerd en aangesloten is, om zeker te zijn dat er geen water door komt tijdens het rijden.

Don’t forget to put the provided rubber into the hole where the cables come through. Maybe you can put a tyrip round the rubber and cables  this will prevent water en dirt coming through when riding your Vespa.

Bedankt voor uw bezoek...

Thanks for your visit...


zaterdag 28 januari 2012

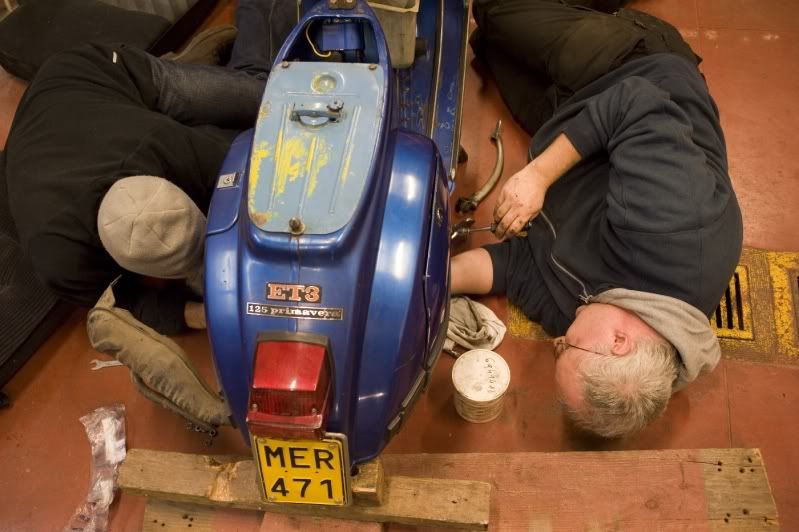
VC Oostende op bezoek bij PapaVespa - VC Ostend visits PapaVespa

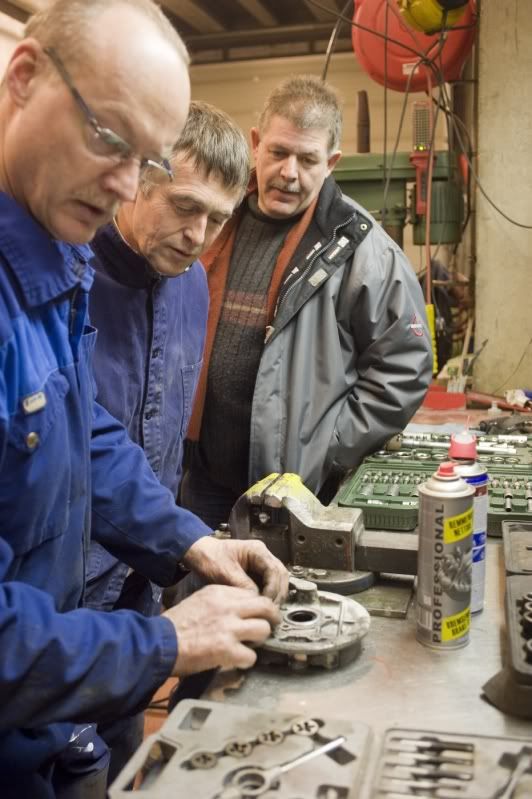
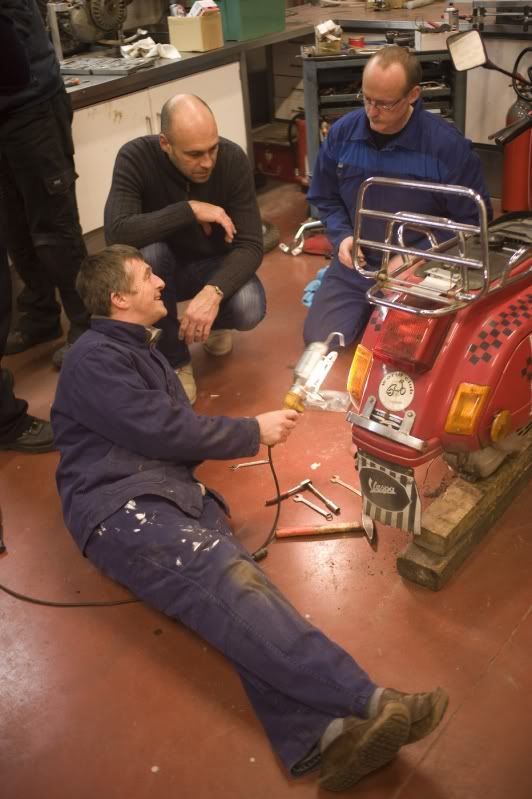
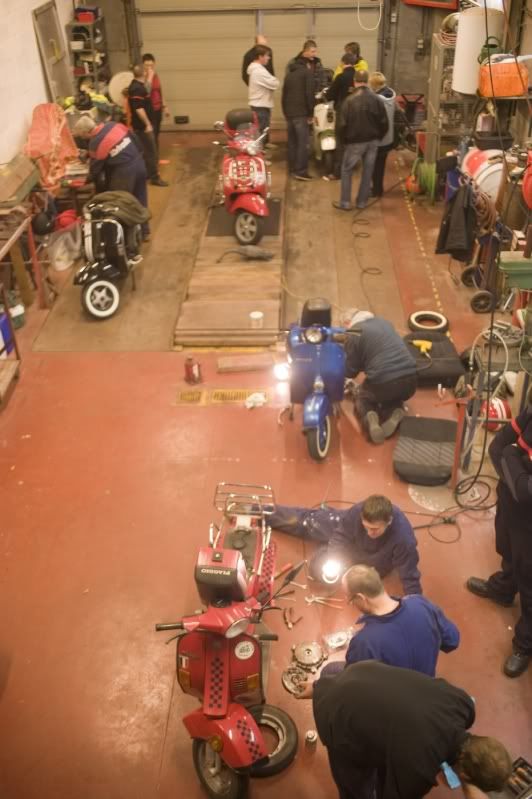
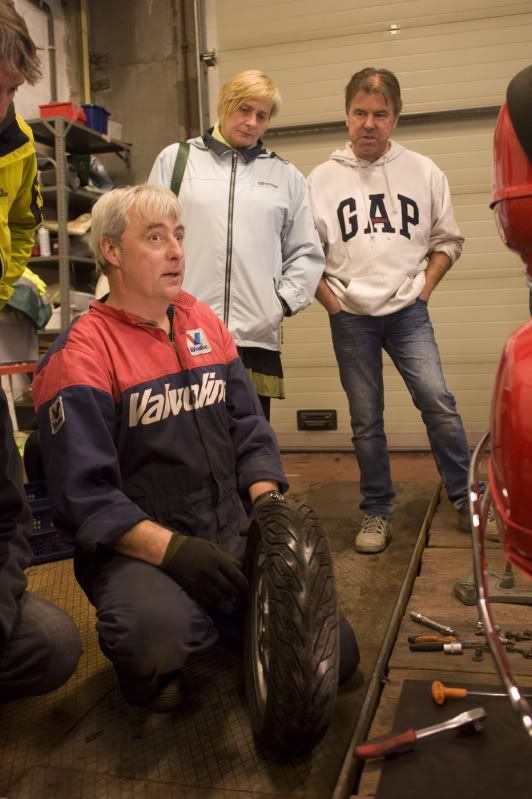
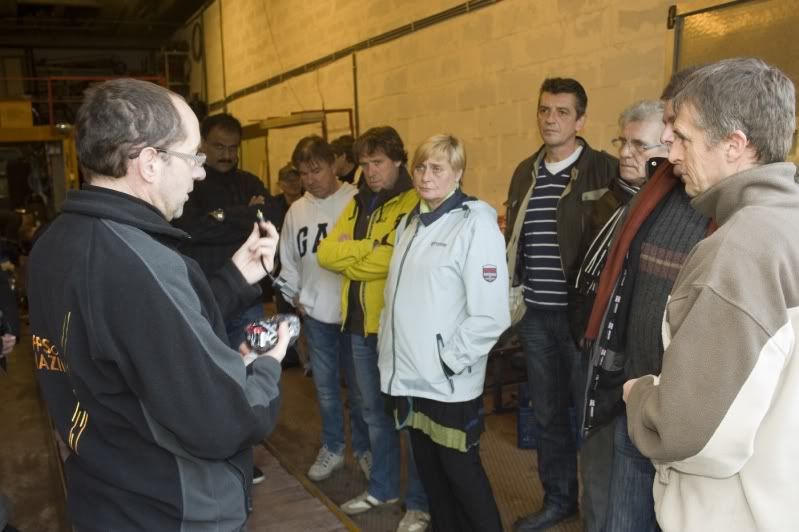
Op 22 januari l.l. bracht Vespa Club Oostende een bezoek. De eerste knutsel namiddag of sleutel namiddag, hoe je het wil noemen, vond plaats bij Papa Vespa. Het werd een zeer interessante en gemoeds vriendelijke bijeenkomst waar iedereen iets aan over hield. Wat mij ten zeerste opviel is dat bij elke samenkomst van onze club je telkens weer nieuwe en interessante mensen leert kennen. Wat kan je meer verlangen?
Hier enkele sfeer foto's. Het volledige verslag zal je deze week maar ook alle andere info over onze club kan je terug vinden op de officiële site van Vespa Club Oostende .


On January 22  Vespa Club Ostend brought me a visit. The first technical afternoon or whatever you want to call it, took place at Papa Vespa’s place. It was a very interesting,  pleasant and friendly gathering where there was something for everyone. What I strongly noticed is that at every meeting of our club you get to meet new and interesting people. What more could you desire?
Here are some  photos. The full report will be online this week and also all other information about our club can be found on the official site of the Vespa Club Ostend.


Met dank aan Yvon Poncelet de allombekende fotograaf uit Oostende.

With many thank to Yvon Poncelet the well-know photographer from Ostende.


dinsdag 24 januari 2012

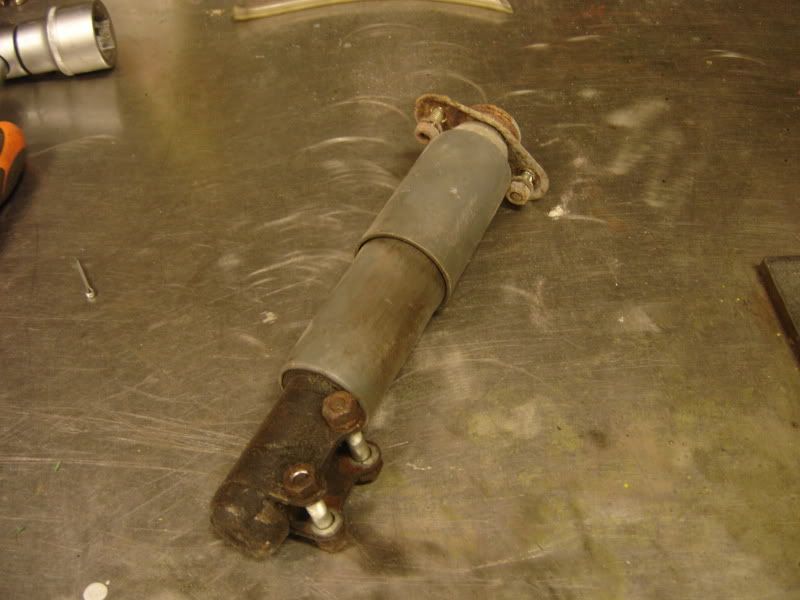
revisie schokdemper - overhauling a shock absorber

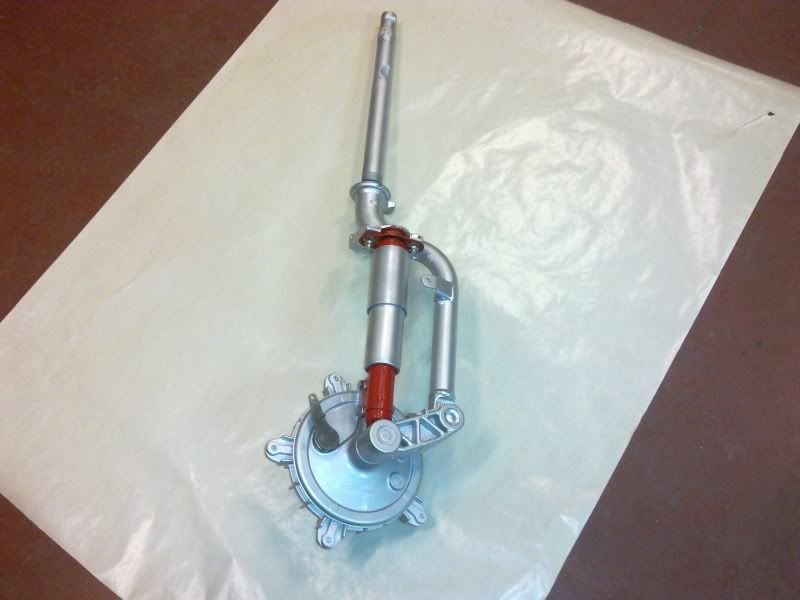
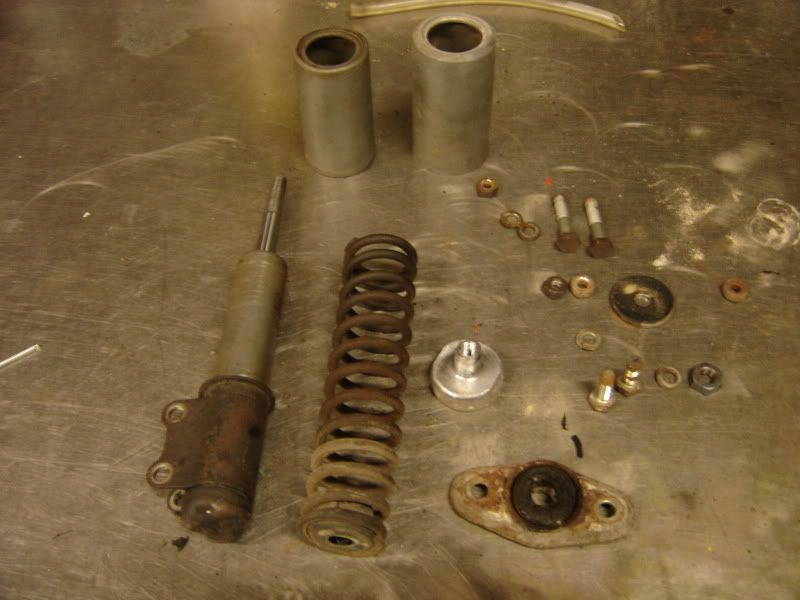
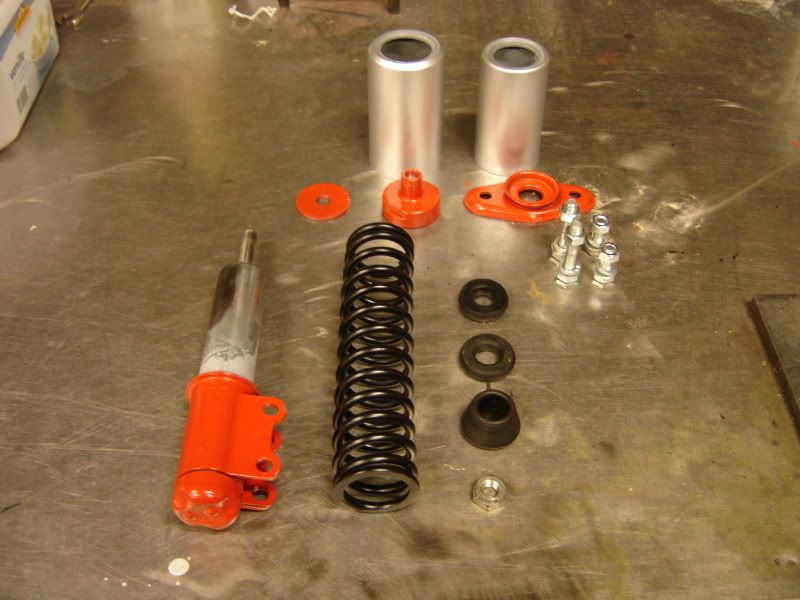
De schokdemper die op de Vespa gemonteerd stond voldeed niet echt meer aan de eisen van een goede schokdemper. Ik kreeg vorig weekend een andere van een vriend die na demonteren en nazicht wel nog voldeed, die heb ik ondertussen gereviseerd en ze is klaar om terug gemonteerd te worden.


The shock absorber that was mounted on the Vespa did not really meet the requirements of a good shock absorber. I got another one from a friend last weekend and after disassembly and inspection it past the test.  I have now rebuilt it and it’s ready to be mounted again.


Wanneer je de demper in duwd en terug uit wil trekken moet je een zeer duidelijke weerstand voelen. Indien deze niet aanwezig is of er zit een zwak moment in, leg hem dan maar aan de kant en kijk voor een andere. Hier hangt de veiligheid en bestuurbaarheid van uw Vespa van af.

When you pushe the absorber in and pull it back you need to feel  a very clear resistance. If this is not present or has a weak moment, lay it aside and look for another. The security and manageability of your Vespa is depending on it.


De stukken nagezien, volledig opgekuist en gespoten.

All the pieces inspected, cleaned up and painted.


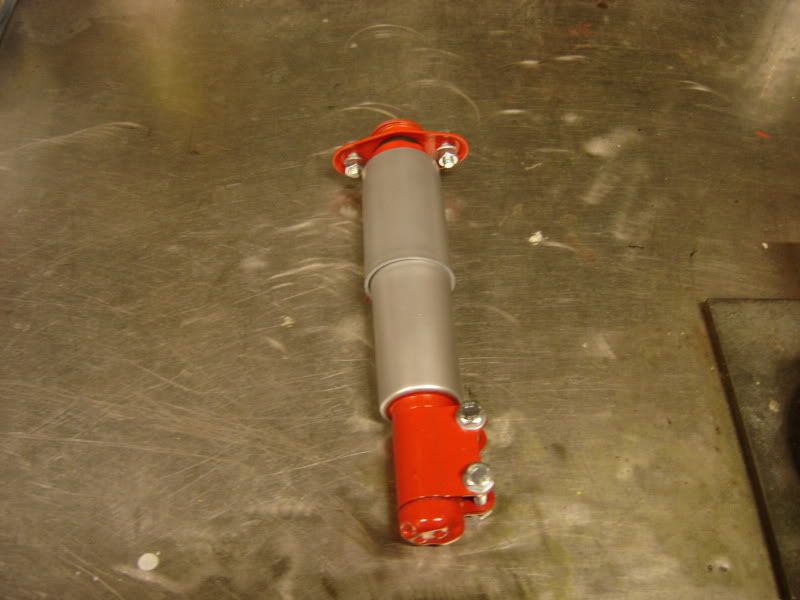
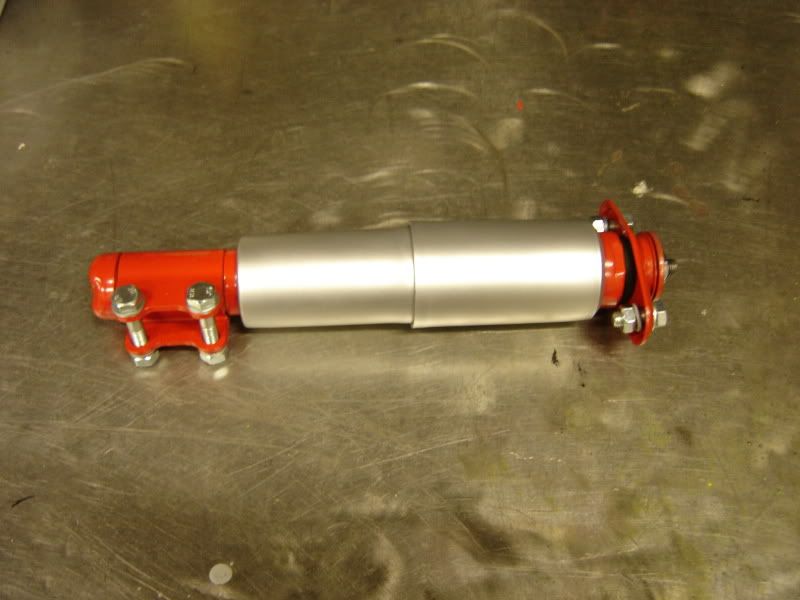
Terug gemonteerd.

All the pieces back together again.


zondag 22 januari 2012

sleutelcontact monteren - mounting the ignition key

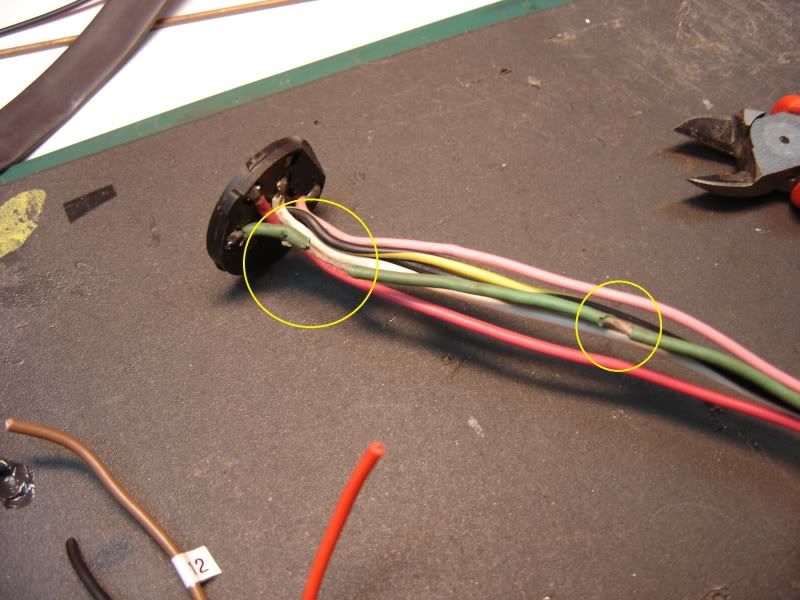
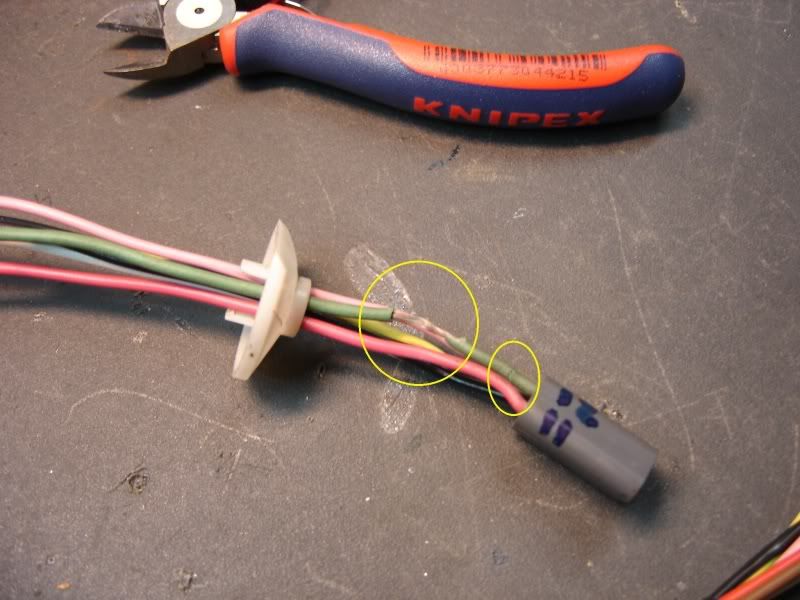
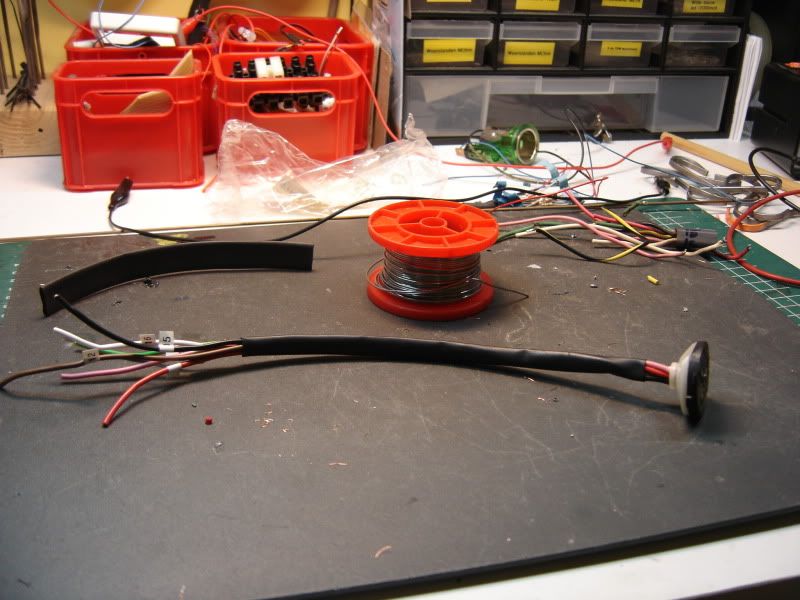
Met het verder monteren van de elektrische onderdelen was ik gekomen aan het contact slot. Bij nadere controle van de bekabeling bleek dat de isolatie van de kabel aan het verduren was.


With the further installation of the electrical components, I came to the ignition lock. On closer inspection of the cables it showed that the insulation on some parts of the cable had gone.


Geen goed idee om dit zo terug te installeren. Enige oplossing is een nieuwe, maar dat ligt niet echt in mijn aard als het niet nodig is, of herstellen.


Not a good idea to install it right back. Only solution is a new, but it is not really in my nature when it is not really necessary, or to repair it.


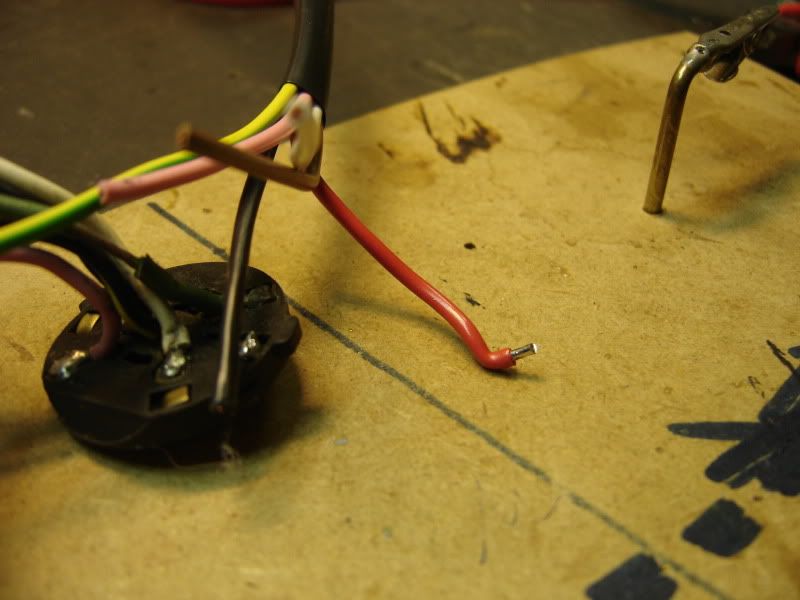
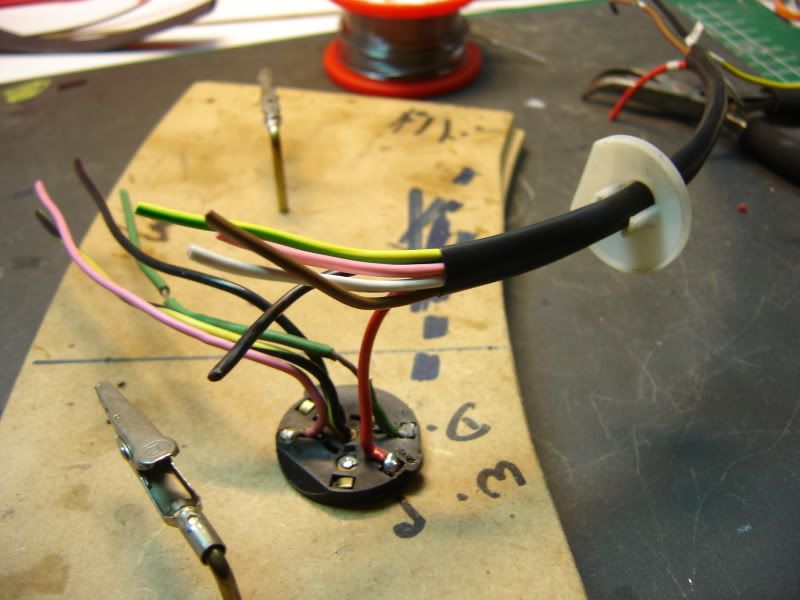
De 6 kabels zijn gesoldeerd op een koperen lipjes die aan de andere kant van de schijf de contact banen vormen van het sleutel contact. Deze desolderen en er nieuwe aan bevestigen is wanneer je het juiste materiaal hebt een kleine werkje.


The 6 wires are soldered to the copper contacts on the one side, on the other side of the disk they form the contact strips of the ignition key. Replacing the wires isn’t a big job when you have the right tools for the job.


Het eindresultaat van een half uurtje werk mag er zijn. Ik krijg veel voldoening wanneer ik zelf iets kan herstellen in een betere staat als voordien.

The end result of half hour of work are impressive. I get a lot of satisfaction when I restore something to a better state than before.


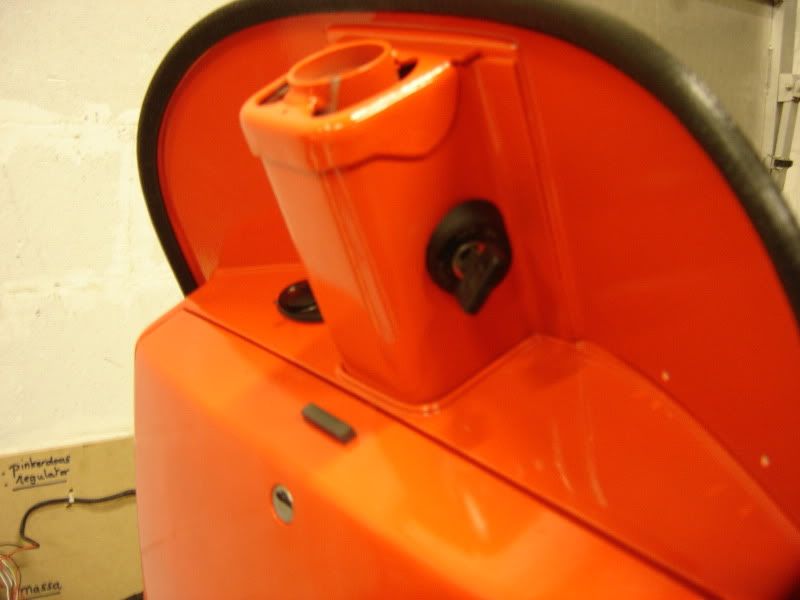
Wanneer je het contact slot goed bekijkt en jezelf eens afvraagt waar alles voor dient en hoe het werkt, is het een koud kunstje om alles weer te monteren als voordien. 
In oktober 2011 heb ik een kleine uitleg gegeven hoe het contact slot te demonteren. Duw op de link om deze te openen in een andere venster.

If you look closely at the lock and wonder what everything is for and how it works, it's a breeze to install everything again as before.
In October 2011 I made a little explanation on how to disassemble the ignition lock. Push on the link to open in another window.


Bedankt voor uw bezoek!

Thank you for your visit!